.jpg)
In the constant drive to improve efficiencies and reduce the carbon footprint of their fossil fuel-powered engines, motor manufacturers are shaving microns off the tolerances of rotating parts such as camshafts and crankshafts.
“Over the years, the critical geometrical dimension tolerances for camshafts and crankshafts have been significantly tightened to improve engine life performance, fuel economy and reduce emissions,” says Addison D. Cole, CEO of Adcole Corporation. “In the last 25 years, crankshaft roundness tolerances have been reduced from eight microns to three microns. The green cars of the future will have high performance, small engines with very low emissions. Consequently, the production tolerances will continue to tighten which should lead to the adoption of Adcole technology by engine component manufacturing plants.”
Over 500 automobile manufacturers and auto suppliers use Adcole’s computerized inspection gages for quality control checks on camshafts and crankshafts. Founded in 1957, the company has established manufacturing facilities in Massachusetts and Florida and runs offices worldwide. Nearly 60% of the company’s business comes from automotive OEMs and manufacturers of agricultural and construction equipment, outboards, and other small engine manufacturers. The remaining 40% of Adcole’s business comes from the spacecraft hardware industry.
“Adcole equipment has provided its customers with a technical advantage in terms of accuracy and compatibility with other Adcole gages,” said Cole in an earlier interview with Automotive Industries. “Our bigger customers use Adcole gages in their powertrain development labs, plant gage rooms or on the production floor. The companies know that their production costs are low, but their end users are getting a quality product.”
The company has more than half a century of experience in designing and manufacturing specialized machines for measuring engine components. It also makes digital sun angle sensors for space satellites, primarily for the American, European, and Japanese space industries. Adcole’s client list includes General Motors, Ford, BMW, VW, Chrysler, Toyota, Fiat, Nissan, Renault, Hyundai, Volvo, Suzuki, Caterpillar, Daimler, BMW, Honda, Cummins, FAW, Tata, MAN, John Deere, SAIC, FAW, Dong Feng, and ThyssenKrupp.
One of Adcole’s leading products for the automotive industry is the ADCOLE 1310 High-Speed Camshaft Inspection Gage. It is an end-of-line machine that measures up to 200 parts-per-hour for rise error and chattermark detection. This fully automated gage uses individual measuring heads for each journal and cam lobe, with 0.1 micron resolution, taking one data point at each 1/10 degree, or 3600 data points per revolution.
Early in 2011, Adcole announced that it would soon be releasing the Adcole Model 1200-10 Crankshaft gage aimed at manufacturers of diesel, marine and locomotive engines for crankshafts up to 4.5m long. It is also suitable for oil field and power generation. The product features a proprietary ball bearing spindle with <0.25 µm runout for measuring crankshafts up to 4.5 meters long, with a 560mm swing diameter, that weigh up to 2,050 kilograms. Utilizing a laser interferometer in combination with a contact follower having a 330mm stroke, this high-precision gage can measure 3,600 data points on pin journals for roundness and straightness with 0.5 µm accuracy. Equipped with a 50cm touch-screen display and a Windows-based operating system for ease of use and output flexibility, the Adcole Model 1200-10 Crankshaft Gage can execute a full crankshaft measurement within 15 minutes. Built on a base of structural steel main cabinets with a large 60cm thick surface plate weighing 7 tons, this robust machine weighs 22 tons says the company. Automotive Industries spoke to J. Brooks Reece, vice-president at Adcole Corporation and asked him to tell us more about some of the unique features of the Adcole Model 1200-10. Reece: Only Adcole makes such a large crankshaft with sub-micron accuracy. To accomplish this feat, Adcole had to design ways to handle the component weight, stroke, and length. Specifically, the granite surface plate is twice as heavy as the one used in the 3.3 meter gage. The spindle bracket has been made stronger and the technique for mounting it to the granite has been re-engineered. A spindle motor drive has been developed in order to control the rotation start and stop of such a heavy component. The tailstock is fully programmable with a joystick control and includes a video monitor to make sure the tailstock center is properly engaged. For further safety, a pneumatic system has been added that pushes air through the headstock and tailstock centers to sense if the part has been properly loaded. Design changes have also been made to the vertical axis drive and to the laser interferometer measuring system which is the trade mark of the well known Adcole Model 1200. AI: How would you describe Adcole in terms of being an innovator? Reece: We have always followed the belief that our customers should have the most accurate gage possible. This means that more process tolerances can be reserved for the process. For example, if a gage takes 10% or more of the component tolerances, there will be less tolerance production and an increased likelihood of rejecting good components. Adcole manufactures the most accurate gages in its class, and our customers benefit from a strategic advantage. AI: Tell us about Adcole’s continuing development of state-of-the-art measurement solutions for crankshafts and camshafts. Reece: All of the biggest automotive and large diesel engine makers depend on Adcole. Over the years, our customers have asked us to develop special measuring features for their newest designs. In some cases, our customers have asked us to develop a new machine entirely. One of our largest customers in the United States asked us to build a surface finish machine that can run the measuring sequence automatically. This was the first automatic roughness machine for crankshafts for the industry. Another unique aspect of this machine was its ability to measure the main and pin journals in each quadrant, which is vital for minimizing engine noise and increasing engine life. Our customers are increasingly choosing to use our products for both form and roughness measurement for camshafts and crankshafts. AI: How does your R&D and subsequent product development reflect the growing demand for greener solutions? Reece: Adcole measures rotating components that are critical to engine power and fuel economy performance. Consequently, these same components influence clean tailpipe emissions. Global vehicle production should increase from the current level of 75 million vehicles to 100 million vehicles over the next five years. As China and India each add 100 million vehicles to their roads, there will be infrastructure investment in highways and bridges. During this expansion phase, there will be acute attention paid to fuel economy and emissions by the market place and the regulators. As in the past, Adcole will continue to do its part in contributing towards increased engine performance and reduction in manufacturing costs.


More Stories
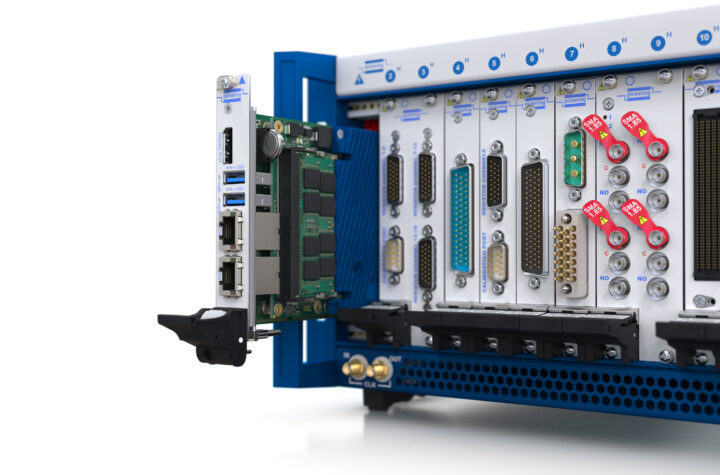
New future-ready single-slot PXIe controller for high-performance T&M applications from Pickering Interfaces
US Army Awards ANELLO Photonics Contract Phase II SBIR Topic “xTech Search 7 SBIR Finalist Open Topic Competition”
E Tech Group Named Platinum Partner in Rockwell Automation PartnerNetwork